 By
By 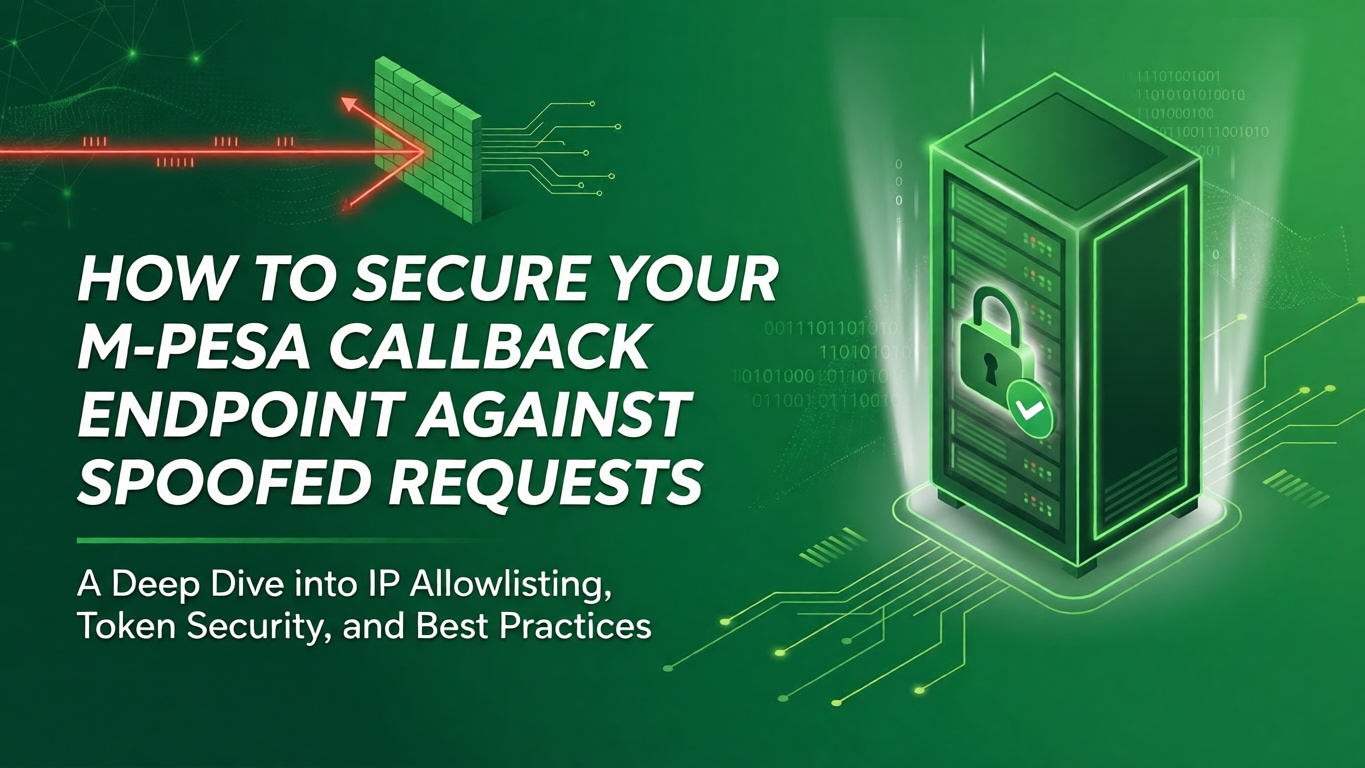
In Part 1 of this series, we built a working STK Push integration from scratch. In Part 2 , we handled how to send money from your M-Pesa Business Account to any phone using the Daraja B2C API. we handled In Part 3, we tackled the hard part: handling timeouts, disconnections, and keeping transaction state intact even when Safaricom's callback never arrives. If you have read all of them, you now have a resilient payment flow that can survive real-world network failures.
There is one more piece that most local developers do not think about until something goes wrong: what happens when someone deliberately sends a fake callback to your endpoint?
This is not a theoretical problem. The Daraja callback URL is a public HTTPS endpoint that accepts POST requests. The payload structure it expects is fully documented in Safaricom's public API docs. Anyone who knows your callback URL can craft a request body that looks exactly like a legitimate M-Pesa success notification and POST it to your server. If your handler does not verify where the request came from, it will process that fake callback as a real payment, fulfil the order, and your business takes the loss.
That attack vector is simple enough that it does not require technical sophistication to exploit. A junior developer who has read the Daraja docs once knows enough to construct a valid-looking callback body. On a subscription platform or a digital goods store where fulfilment is automated, a few spoofed requests can cause real financial damage before anyone notices.
This article covers everything you need to lock down your callback endpoint properly: understanding the attack surface, setting up IP allowlisting using Safaricom's documented IP ranges, implementing a secret token in the URL itself, adding payload structure validation, and combining all three into a layered middleware approach that handles each concern cleanly.
All examples continue from the Node.js project in the previous articles.
Understanding the Attack Surface
Before writing any defence code, it helps to think clearly about what an attacker is actually doing.
Your callback endpoint at something like https://yourapp.com/api/mpesa/callback receives a POST request from Safaricom whenever a transaction resolves. The body looks like this for a successful payment:
This structure is publicly documented. Anyone can copy it, swap in any CheckoutRequestID they want, set ResultCode to 0, and POST it to your server. If your callback handler simply reads ResultCode, finds it is 0, and marks the corresponding order as paid, you have a serious vulnerability.
The second problem is that your callback URL path may not stay secret for long. It could leak through browser developer tools, server logs shared with a third party, a disgruntled employee, or simply by being predictable. A URL like /api/mpesa/callback is something an attacker would try on the first guess.
The third problem is that even if your URL is obscure, if you are only checking the URL and not the payload or the source IP, an attacker who discovers it can replay the same attack indefinitely.
The defence strategy uses three independent layers that each catch a different vector. No single layer is sufficient on its own, but together they make your callback endpoint significantly harder to abuse.
Layer 1: IP Allowlisting
The most fundamental check is verifying that the request originated from Safaricom's servers. Safaricom documents a specific list of IP addresses from which all Daraja callbacks are sent. Any request coming from an IP not on that list should be rejected before your handler does any processing.
The IP addresses provided by Safaricom in the M-Pesa documentation are:
196.201.214.200196.201.214.206196.201.213.114196.201.214.207196.201.214.208196.201.213.44196.201.212.127196.201.212.138196.201.212.129196.201.212.136196.201.212.74196.201.212.69
Here is how to implement this as Express middleware:
Two important implementation details here. First, when your server sits behind a reverse proxy, a CDN like Cloudflare, or an AWS load balancer, req.socket.remoteAddress will show the proxy's IP, not Safaricom's. You need to read from x-forwarded-for to get the real originating IP. However, x-forwarded-for can itself be spoofed if your proxy does not strip or overwrite it. On platforms like Heroku, Railway, and Render, the platform manages this header and it is trustworthy. On a bare VPS with nginx, configure nginx to set X-Real-IP from $remote_addr and read that header instead.
Second, note that we return HTTP 200 even for rejected requests rather than a 403. Returning a clear error code on failed IP checks reveals information about your defences to an attacker probing your endpoint, and it could also cause unnecessary retries from Safaricom if their outgoing IPs ever change temporarily during routing updates. Returning 200 silently and logging the attempt gives you visibility without exposing anything.
One important caveat with IP allowlisting: Safaricom could introduce a new IP for processing requests without immediate notice, meaning you could accidentally reject legitimate callbacks from a new Safaricom IP that you had not previously whitelisted. The mitigation for this is to monitor your logs for 200 responses that came from the IP allowlist middleware but had no matching transaction record in your database. That pattern indicates a real callback was rejected. Keep an eye on the Safaricom developer forum and changelog for IP range updates.
Layer 2: Secret Token in the Callback URL
IP allowlisting verifies the source of the request. A secret URL token verifies that the request is targeting your specific endpoint and not a guessed URL path. The idea is simple: you embed an unpredictable secret in your callback URL, register that URL with Daraja, and your handler rejects any request that does not include the correct token.
This works because Safaricom will only ever call the exact URL you registered. An attacker who does not know your specific URL cannot spoof requests to it.
Step 1: Generate a strong token and add it to your environment variables.
Add it to your .env file:
Step 2: Use the token in your callback URL.
Update your CALLBACK_URL environment variable and the URL you register with Daraja:
This URL is what you pass in the CallBackURL field of every STK Push request.
Step 3: Validate the token in middleware.
Step 4: Update your route definition to use the dynamic segment.
The comparison token !== expectedToken uses a regular string equality check here. For even stronger security, use Node's crypto.timingSafeEqual() instead, which prevents timing attacks where an attacker could infer the correct token length by measuring how long the comparison takes:
A useful side effect of this approach: if you ever suspect your callback URL has been compromised, you can rotate the secret by generating a new token, updating your .env, and re-registering the new URL with Daraja. The old URL immediately stops working.
Layer 3: Payload Structure Validation
IP allowlisting and a secret URL token together are strong. But there is a third layer worth adding: validating that the request body matches the structure you expect before doing anything with it.
This catches a different set of problems. It defends against malformed requests that could cause your handler to crash with an unhandled exception, and it adds an extra obstacle for any attacker who has somehow learned your callback URL.
This middleware does two things. It validates the structural contract of the Daraja callback payload, so your actual handler code can safely access nested fields without defensive null-checking everywhere. And it silently rejects requests that do not match the expected shape, which would never come from Safaricom's real servers.
Layer 4: Cross-Reference Against Your Own Database
This is the final line of defence and arguably the most important one. Even if an attacker bypasses all three layers above (by somehow knowing your URL, spoofing the IP headers through a compromised proxy, and correctly constructing the payload), they still need to provide a CheckoutRequestID that exists in your database as a transaction you actually initiated.
Your callback handler from Part 3 already does this lookup. The key is to make sure it is treated as a hard requirement, not a soft check:
For a spoofed request to succeed past this point, an attacker would need a CheckoutRequestID from a transaction your own server initiated. That requires either compromising your database or somehow intercepting the STK Push initiation response from Daraja. Both of those are much harder problems for an attacker than simply crafting a fake callback body.
Putting It All Together
With all four layers in place, here is what the complete middleware chain looks like on your callback route:
Every incoming request passes through each middleware in order. If it fails any check, it gets a silent 200 and exits. Only a request that passes all four reaches your actual business logic. Here is a summary of what each layer catches:
Layer | What it blocks |
|---|---|
IP allowlist | Requests from any server that is not Safaricom |
Secret URL token | Requests to a guessed or leaked generic callback path |
Payload validation | Malformed bodies and structurally incorrect requests |
DB cross-reference | Callbacks for transactions you never initiated |
Each layer is independent and tested separately. If Safaricom's IP ranges ever change, you update the allowlist in ipAllowlist.js. If your callback token is compromised, you rotate it in .env and re-register the URL. Neither change affects any other layer.
The real value of this layered approach is not any single check in isolation. It is that an attacker would need to simultaneously know your secret URL token, originate their request from a Safaricom IP range, construct a perfectly valid payload structure, and have a real CheckoutRequestID from your database. That combination is not practically achievable without also having already compromised your server, at which point the callback endpoint is not your biggest problem.
A Word on Environments
One common gotcha when implementing IP allowlisting: it will break your local development setup immediately. In development, callbacks from ngrok come through ngrok's servers, not Safaricom's IP ranges, so they will all be rejected by the IP check.
The cleanest solution is to conditionally skip the IP allowlist in development:
Keep a separate .env.development file where NODE_ENV=development, and make sure production deployments set NODE_ENV=production. The IP check will be enforced in staging and production, and bypassed locally.
What About Rate Limiting?
One more thing worth adding is basic rate limiting on the callback endpoint. Safaricom sends at most one callback per transaction, with occasional retries. If you are receiving dozens of requests per minute to your callback URL from varied IP addresses, something suspicious is happening.
A simple in-memory rate limiter using the express-rate-limit package is sufficient for this:
Add it to the front of your middleware chain, before the IP allowlist. Legitimate Safaricom callbacks from a single shortcode will never come close to 60 per minute.
Next in the series: Going Live on Daraja Production: What Safaricom Actually Reviews and How to Avoid the Most Common Delays. Questions or feedback? Drop a comment below or reach us at [email protected].
Comments